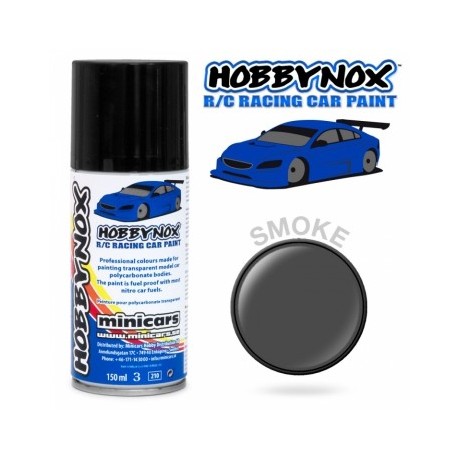
Hobbynox 952 - Grey R/C Racing Spray Paint 150 ml
Hobbynox Grey R/C Racing Spray Paint 150mlWe're back on the Lexan® / Polycarbonate paint market - now with a series of 150 ml spray cans in the popular colors of today. Ready to use, quick drying, fuel resistant and light weight paint for racing.Hobbynox™ R/C Racing paint have been specially developed for the painting Polycarbonate bodies. The special solvent used in it etches the surface, allowing the paint to bond permanently with the bodyshell. Fuel resistant to most R/C car fuels Big spray can - 150 ml Extreme adhesion and very flexible Dries fast Special spray noozle for an even and smooth paint finish Hobbynox™ Grey Color Tips: If possible when you want grey to be the main color with added lighter colors, please mask the bodyshell so that you will paint the grey first. If not, the grey can bleed through the lighter colors (painting the grey last). Normally two thin layers is needed to make the grey to cover completely. Hobbynox™ - Making you look Good!Generic bodyshell painting tips from Pro-Line:Cutting Your BodyshellCut out the transparent bodyshell with a pair of scissors (this, this, this or this) or a sharp hobby knife with a new blade installed (this or this). Pay attention to keeping the corners smooth and with a radius. If you cut corners sharply the bodyshell will most likely start cracking at that place.Body Mount Holes etcUse a body reamer to make holes in the bodyshell - like this, this, this or this. The PROTOform Crosshair Body Mounting Kit #PF6032-00 can also be very helpful to location the body post holes if you forgot to do these holes prior to painting the bodyshell...Sand the Edges SmoothSmooth out any rough spots with this or this.Don't remove the protective filmLeave the transparent protective film on the outside of the bodyshell on while painting.Wash your BodyTo remove any residue left on the body after molding, you must wash it inside and out. Use warm soapy (liquid dish washing detergent) water in your sink, paying special attention to the tight curved areas and corners. Rinse the body in warm water. Dry the body with a clean towel or hair dryer. It must be completely dry before you paint it.Window MasksIf your bodyshell came equipped with pre-cut window masks: Using the molded in window lines as a guide apply the window masks to the inside the body. Be sure to press down all the edges to keep paint from sneaking under. The masks keep the windows clear while you paint.Step 1: Tape StripesMake sure you use high quality masking tape, and press down all the edges. First mask off the color that you want to paint last. Masking tapes we recommend: 6 mm wide, 10 mm wide & 18 mm wide.Step 2: Continue TapingFill in the area you want to paint with your second color. Painting from dark to light is ideal, so leave the darkest section clear, and paint this first.Step 3: Mix the PaintShake the spray paint can you will use for at least a couple of minutes. There is a small steel ball inside that you will hear rattle inside. If you cant hear it - shake the can some more!Step 4: First CoatApply a thin even first coat of paint from about 20-30 cm distance. Don't apply too much paint at this time as it will easily creep under the masking tape.Step 5: Finish First Coat & remove maskWhen your first color has completely dried, unmask the second section of the paint scheme. While removing the tape, watch that you don't remove any of the masking stripes accidentally.Step 6: Paint 2nd color & remove maskAgain spray light coats and cover evenly. You can then back it with white or silver, but in this case we will use silver for the stripes, so no need to back it separately. When the paint has completely dried remove the taped stripes.Step 7: Paint stripeNow fill in the stripes with silver, and also back up the blue section in the middle, and on the bed.Step 8: Window TrimPainted window trim is very popular, and easy to create. When your final backup coat is dry, trace and trim around the inside of the window mask creating a border with a sharp hobby knife (this or this). Remove the borders from all the windows and spray with your favorite color.Step 9: Trim & test fitIf you chose to not trim and mount the bodyshell prior to painting it then its time to do so! Trim out your body using curved scissors for the wheel wells and straight scissors for the lower lines. Drill out your body post markings with either a Dremel tool or reamer. The protective film will help keep your body from getting scratched as you cut and drill.Step 10: Remove protective film & window masksPeel back the protective film, and remove the window masks.Step 11: Decal & DetailApply the decals included with the body, add extra details with a paint pen or a detail marker if you wish.Done.Lexan® is a registered trademark of General Electric Company.