Porsche 997 GT3 Clubsport Roll Cage – Lightweight & Bolt-In (Colour: Unpainted)
Porsche 997 GT3 Clubsport Roll Cage – Lightweight & Track-Ready
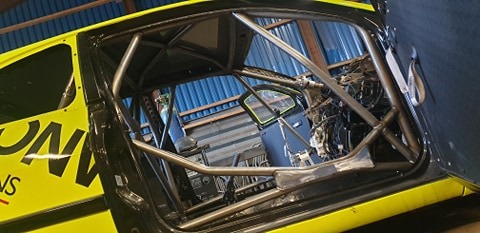
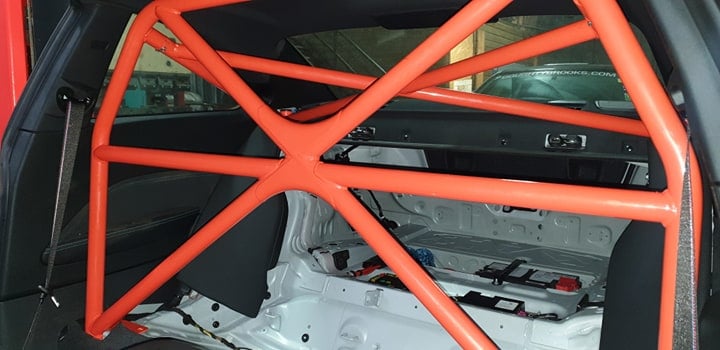
Enhance your Porsche 997’s safety, rigidity, and track performance with the GT3 Clubsport Roll Cage by JP Cages. Designed to replicate the factory GT3 cage, this lightweight, precision-engineered roll cage is a direct-fit upgrade that bolts into existing mounting points—no welding required.
Unlike generic cages, this model maintains a factory-style finish while reinforcing chassis strength. Furthermore, its BS4-T45 aerospace-grade steel construction ensures both durability and reduced weight, making it an excellent choice for performance enthusiasts.
🔹 Why Choose the JP Cages 997 GT3 Clubsport Cage?
✔ GT3-Inspired Design – Matches the factory GT3 Clubsport roll cage with performance-driven enhancements
✔ Direct-Fit Installation – Uses OEM mounting points, eliminating the need for welding
✔ Lightweight & Strong – Constructed from BS4-T45 high-strength steel (~17KG)
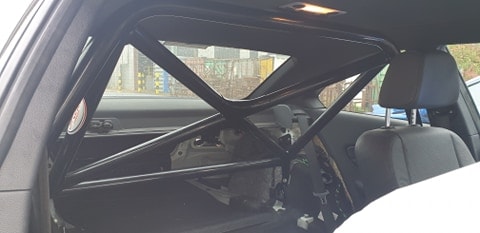
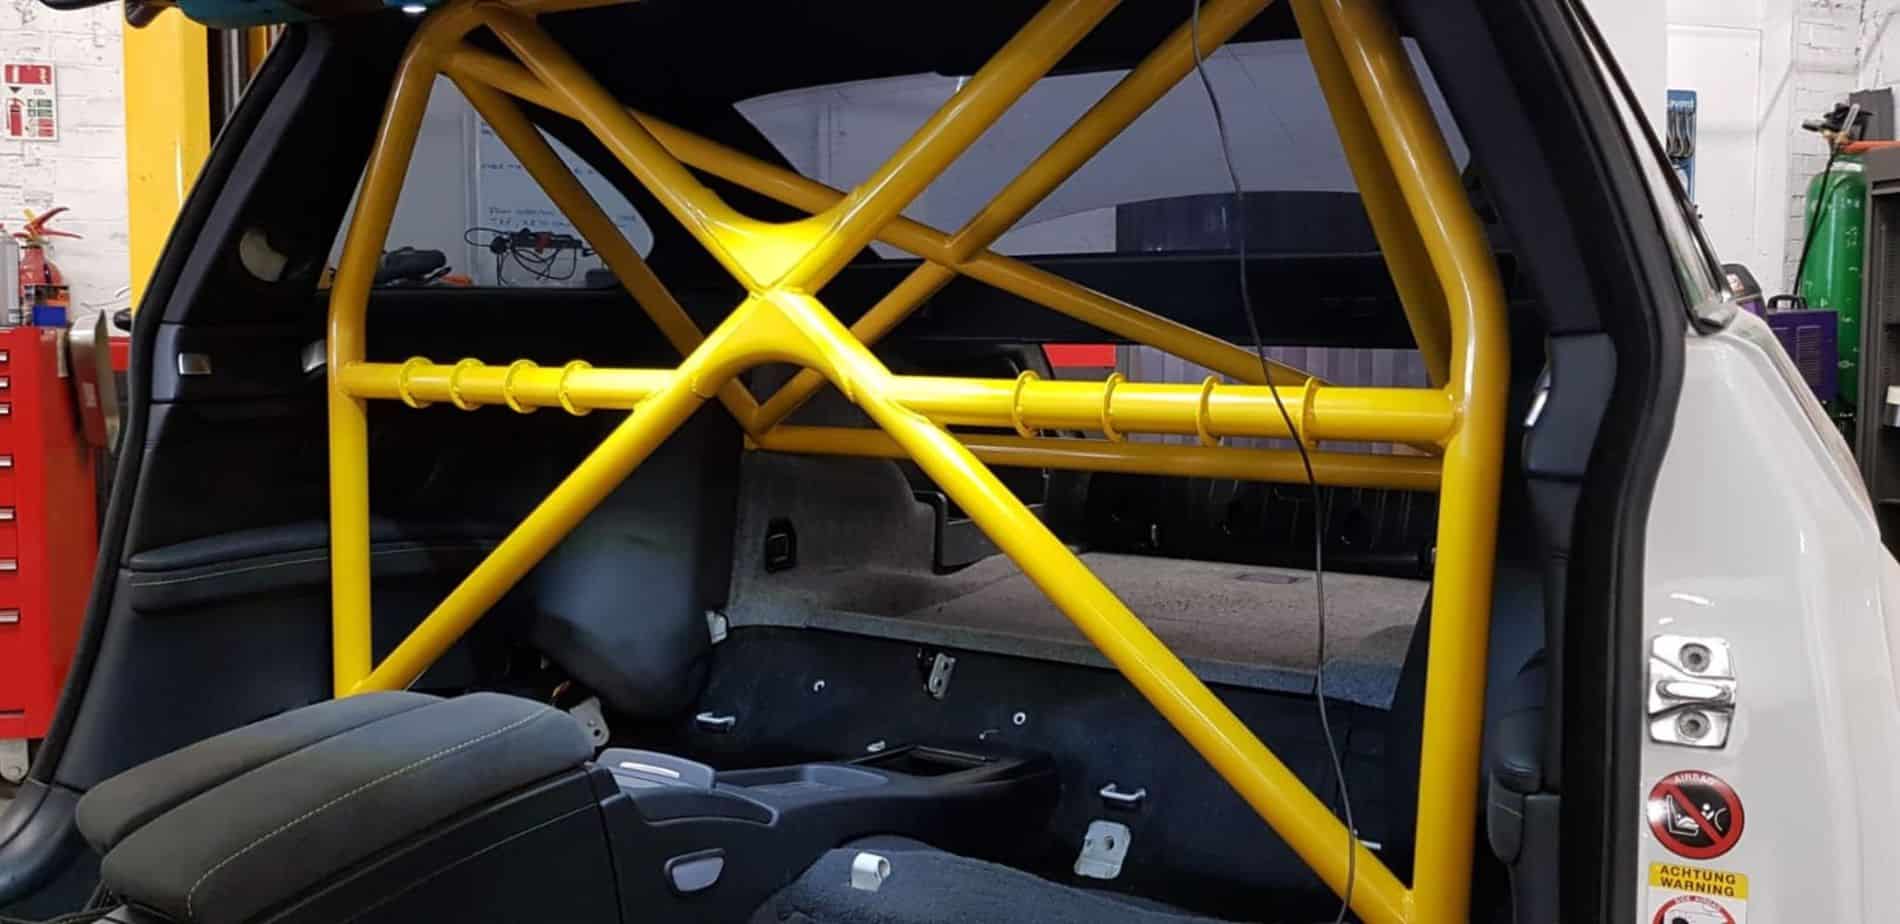
✔ X-Centre & Rear Bracing – Reinforced design for added rigidity
✔ Integrated Harness Bar – Secure mounting for race harnesses (optional)
✔ Powder-Coated Finishes – Choose from a range of custom colours
✔ Designed & Manufactured in the UK – Built by JP Cages, the only UK manufacturer of GT3 Clubsport-style cages
🔹 Built for Performance – Engineered for Safety
This bolt-in roll cage is designed to increase chassis stiffness while keeping weight to a minimum. Whether you’re a track day enthusiast or building a GT3-inspired road car, this cage provides motorsport-level reinforcement without compromising interior comfort.
To ensure superior strength, the cage includes:
🔹 Curved gussets for enhanced structural integrity
🔹 X-Centre reinforcement with integrated harness bars
🔹 X-Rear bracing to reduce chassis flex
💡 Ideal for Porsche owners who demand the highest level of safety and performance on track.
🔹 Simple Installation – No Welding Required
The Porsche 997 GT3 Clubsport Roll Cage installs directly into factory mounting points, allowing for easy bolt-in fitment while retaining interior trims. Since no welding is required, the process is straightforward and ensures a clean, professional finish.
🔧 Step-by-Step Installation Guide:
1️⃣ First, remove the front and rear seats
2️⃣ Next, detach the rear trims and cut a 50mm x 25mm slot (fitting video available)
3️⃣ Then, remove the rear trim covering the strut tops
4️⃣ Take off the B-pillar hooks & seat belt covers
5️⃣ Insert a 25mm spacer in the B-pillar slot for front cage mounts
6️⃣ Carefully position the cage through the passenger door (face down)
7️⃣ Adjust its placement to clear the centre console & rear struts
8️⃣ Secure the rear mounts with nuts (leave finger-tight)
9️⃣ Align & bolt front mounts tightly
🔟 Finally, tighten all fasteners and refit trims and seats
💡 Thanks to its precise fit, this cage provides a GT3-inspired motorsport look while maintaining compatibility with interior trims.
🔹 Custom Colours & Finishes Available
🎨 Powder-Coated Colours – Choose from a wide range of durable finishes
🎨 OEM Porsche Colours Available – Wet-sprayed with a ceramic finish upon request
🔧 Weight: ~17KG – Optimised for performance without adding excessive weight.
🔹 Internal & External Links
✔ Looking for more Porsche roll cages? Browse our Porsche Roll Cage Collection
✔ Prefer professional installation? Visit our Approved Porsche Installation Partner – 911 Sport for expert fitting services.
🚀 Order Your Porsche 997 GT3 Clubsport Roll Cage Today!
Upgrade your Porsche 997 with the ultimate GT3 Clubsport Roll Cage. Designed for track performance,